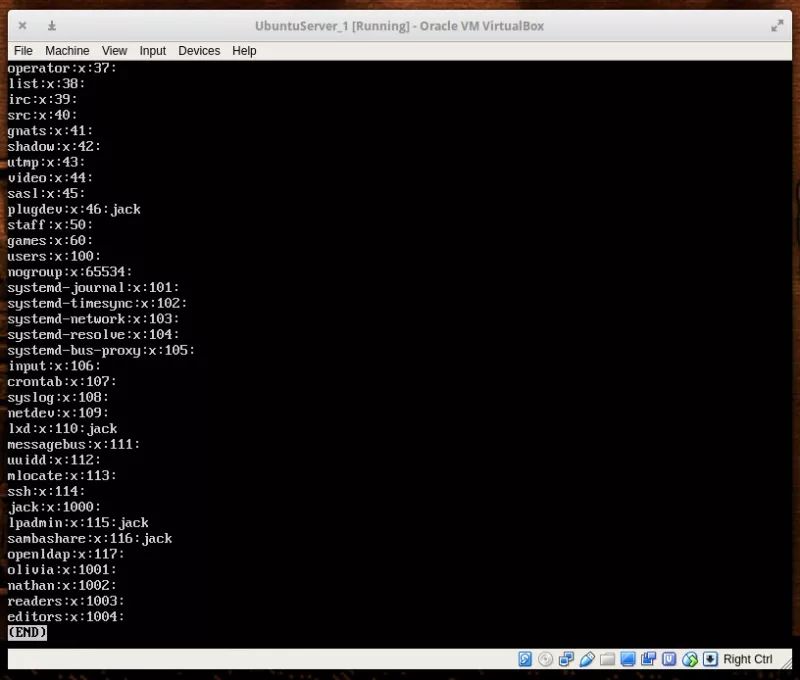
When you need to manage a Linux machine that holds multiple users, you sometimes need to manage more user rights for those users than the methods provided by some basic user management tools. This is especially important when you want to manage the permissions of certain users. For example, if you have a directory, users in a user group can access this directory with read and write permissions, while users in other user groups have read access to this directory. In Linux, this is fully achievable. But the premise is that you must first understand how to manage users through user groups and access control lists (ACLs). We'll start with simple users and go deeper into complex access control lists (ACLs). You can do everything you need to do in the Linux distribution of your choice. The focus of this article is on user groups, so there is no basic knowledge about users. For the purposes of the demonstration, I will assume: You need to create two new users with the following two usernames: Olivia Nathan You need to create the following two user groups: Readers Editors Olivia belongs to the editors user group, and nathan belongs to the readers user group. The reader user group has read access to the /DATA directory, while the editors user group has read and write permissions to the /DATA directory. Of course, this is a very small task, but it will give you basic information, and you can extend this task to suit your other larger needs. I will be demonstrating on the Ubuntu 16.04 Server platform. These commands are generic, the only difference is that if you do not use the sudo command in your distribution, you must switch to the root user to execute these commands. The first thing we need to do is create two users for our experiment. You can use the useradd command to create users. Instead of simply creating a user, we need to create both the user and their home directory, and then set a password for them. Sudouseradd-molivia Sudouseradd-mnathan We have created two users now, and if you look at the /home directory, you can find their home directory (because we used the -m option to create their homes while creating users). After that, we can set a password for them with the following command: Sudo passwd olivia Sudo passwdnathan In this way, we created two users. Create a user group and add users Now we will create the readers and editors user groups and then add users to them. The command to create a user group is: Addgroup readers Addgroupeditors (LCTT Note: When you use some Linux distributions such as CentOS, there may be no addgroup command on the system, it is recommended to use the groupadd command to replace the addgroup command to achieve the same effect) Figure 1: We can use the new user group we just created. After creating the user group, we need to add our users to these two user groups. We use the following command to add the nathan user to the readers user group: sudousermod-a-Greadersnathan Add olivia to the editors user group with the following command: sudousermod-a-Geditorsolivia Now we can manage users through user groups. Grant permissions to the user group for the directory Suppose you have a directory /READERS and allow all members of the readers user group to access this directory. First, we execute the following command to change the user group to which the directory belongs: sudochown-R:readers/READERS Next, execute the following command to reclaim the write permission of the user group to which the directory belongs: sudochmod-Rg-w/READERS Then we execute the following command to reclaim access from other users to this directory (to prevent any users not in the readers group from accessing files in this directory): sudochmod-Ro-x/READERS At this time, only the owner of the directory (root) and the user in the user group reader can access the files in /READES. Assuming you have a directory /EDITORS, you need to give read and write access to the members of the user group editors. In order to achieve this, it is necessary to execute the following commands: sudochown-R:editors/EDITORS sudochmod-Rg+w/EDITORS sudochmod-Ro-x/EDITORS At this point, all members of the editors user group can access and modify the files. Other than this, other users (except root) cannot access any files in /EDITORS. The problem with this method is that you can only operate one group and one directory at a time. At this time, the access control list (ACL) can come in handy. Use an access control list (ACL) Now let's make this problem a bit tricky. Suppose you have a directory /DATA and you want to give read access to members of the readers user group and read and write permissions to members of the editors user group. To do this, you must use the setfacl command. The setfacl command can set an access control list (ACL) for a file or folder. The structure of this command is as follows: setfaclOPTIONX: NAME: Y/DIRECTORY Where OPTION is an optional option, X can be u (user) or g (user group), NAME is the name of the user or user group, and /DIRECTORY is the directory to be used. We will modify it with the -m option. Therefore, the command we add read permission to the readers user group is: Sudosetfacl-mg:readers:rx-R/DATA Now every user in the readers group can read the files in the /DATA directory, but they can't modify the contents. In order to read and write permissions to users in the editors user group, we executed the following command: Sudosetfacl-mg:editors:rwx-R/DATA The above command will give read access to any member of the editors user group, while retaining read-only access to the readers user group. With access control lists (ACLs), you can implement the permissions controls you need. You can add users to user groups and have the flexibility to control the permissions of these groups for each directory to meet your needs. If you want to know more about the above tools, you can execute the following commands: Man usradd Man addgroup Man usermod Man sefacl Man chown Man chmod Plastic Mounting Box,Single Plastic Back Box,Wall Mounted Plastic Box,Wall Mount Box With Lid Lishui Trimone Electrical Technology Co., Ltd , https://www.3gracegfci.com